Post Processing Effects with DirectX11


This project was an experiment and adventure into achieving different post processing effects with a choice of a familiar explicit graphics API. Covering setting up render target views and managing multiple shader resources and targets. Due to only being familiar with forward rendering at the time, I also explored deferred rendering and deferred shading.
Different Experimental Post Processing Effects:
The aim of this first step in developing a framework that allows for post processing is breaking down the stages and steps of rendering such as making sure our output from our pixel shader is saved as a render target view so that we can then pass this back into shaders to achieve effects on top of our rendered scene such as the example of a pincushion chromatic aberration effect. The ability to also implement deferred shading and submit our scene data to the G-Buffer for the GPU to handle also increases performance with significantly more lights in a scene, especially when compared to forward rendering. It does not come without its drawbacks, as effects such as MSAA (Multisampling anti-aliasing), and any kind of transparency or blending effects, the anti aliasing issue can be mended with the implementation of TAA (Temporal anti-aliasing) though to aid with sharp pixelated edges.
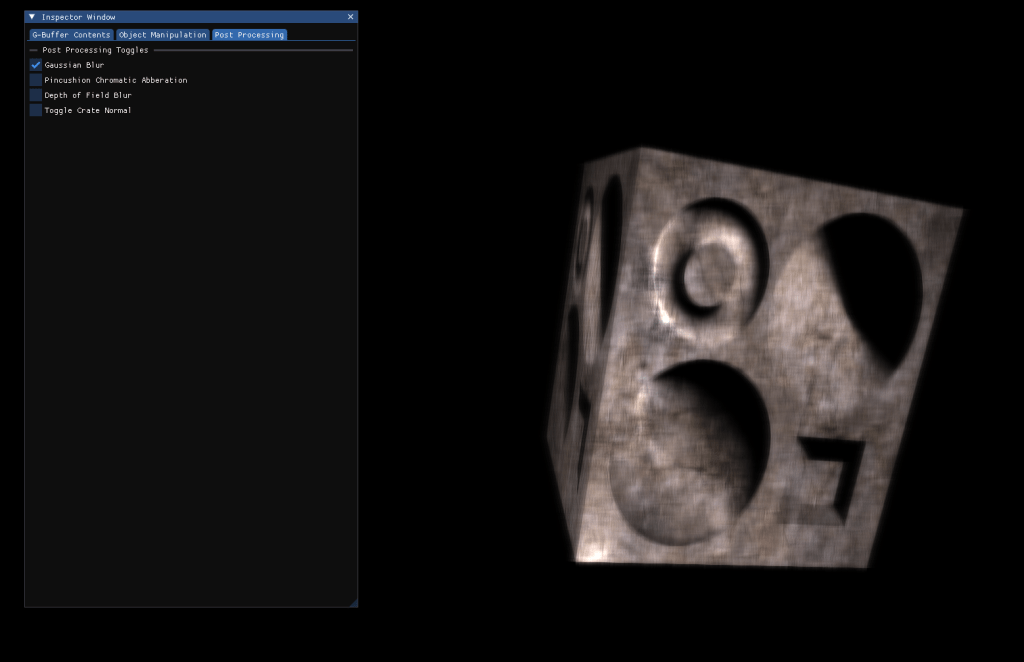
Toggling Different Effects:
Having a simple GUI (graphical user interface) using ImGui to be able to toggle the different effects made it easy for me to debug and adjust values at runtime to achieve the desired effect. This also means that I can add more effects in the future and still have a clean, navigable interface for users or developers to traverse in order to manipulate the output of the application.
Multi-Target Views :
Before undergoing this project I had little to no experience with Multi-Render Target Views (MRTV) with DirectX, but in order to achieve multiple post processing effects, using MRTV’s properly to tidy and clean up the data sent to the GPU and make it easier to read and process meant that outputting from a shader can be done in one uniform struct containing all the data needed.
Shader Example:
This shader code shows the input of the MRTV struct used and how the normal map is sampled and then rescale our normal 0 to 1 scale to a -1 to 1 scale so that the normal can represent light sinking into the object without changing geometry. Then multiplying our Tangent, Bitangent and Normal (TBN) Matrix with the rescaled normal map so that it can be used in the next stage.
